Rehabilitation Protocol Following Achilles Tendon Repair Surgery

Achilles tendon rupture rehabilitation aims to restore tendon healing, muscle strength, ankle range of motion (ROM), and ultimately safe return to sport (RTS). Recent evidence supports early weightbearing (WB) and early ankle mobilization to improve functional outcomes without increasing rerupture risk tendon elongation occurs predominantly within the first 6 months postoperatively, but early loading protocols do not significantly increase. Progressive strengthening and neuromuscular control are essential components for long-term recovery.

This detailed protocol integrates current evidence from randomized controlled trials, consensus statements, and systematic reviews to guide clinicians and physiotherapists through the phases of rehabilitation after Achilles tendon repair.

Not sure if surgery is the best option for an Achilles tendon rupture? Read our full article about Operative vs Non-operative Management of Acute Achilles Tendon Rupture.

Protection Phase

Movement Restoration

Strength Development

Return to Activity

Rehabilitation Stages

Phase 1: Immediate Postoperative Phase (0–2 Weeks)

Goals:

  • Protect the surgical repair and wound healing
  • Manage pain and swelling
  • Prevent complications (e.g., deep vein thrombosis)
  • Maintain proximal muscle activity and cardiovascular fitness

Interventions:

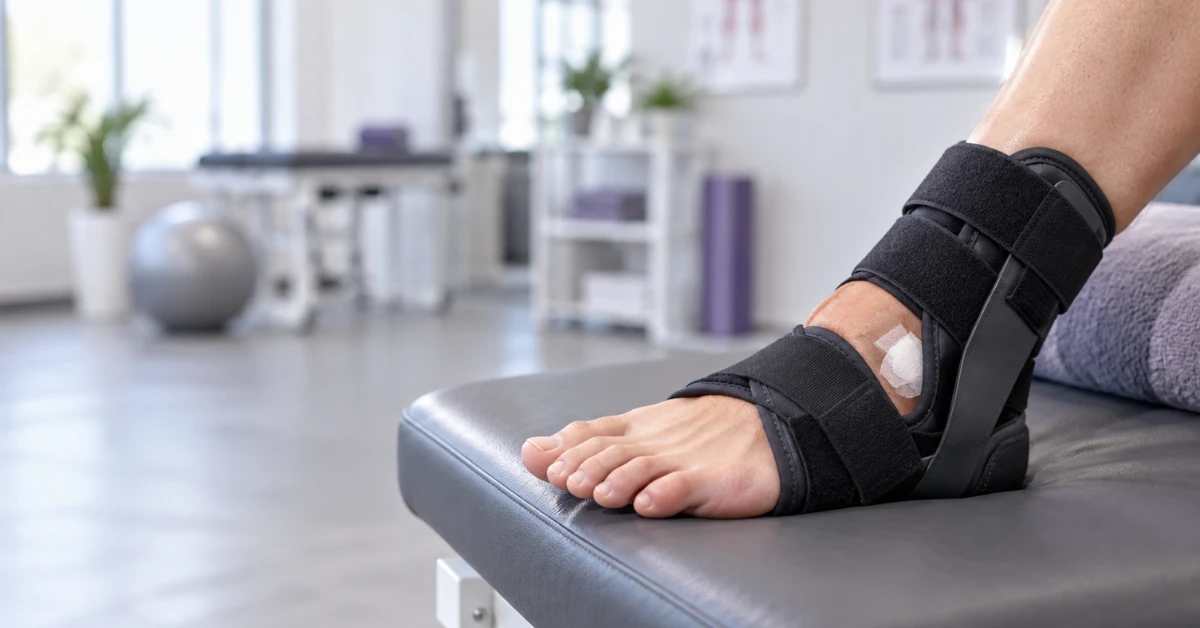
  • Immobilize ankle in plantarflexion using a short leg splint, cast or CAM boot with 3 heel wedges (~6 cm total) to maintain equinus position.
  • Non-weightbearing (NWB) or partial weightbearing (PWB) as per surgeon’s advice; most protocols allow no WB during this phase.
  • Patient education on wound care and signs of infection
  • Initiate isometric exercises for hip, knee, and core muscles
  • Submaximal plantarflexion isometric contractions in boot or cast at end range plantarflexion to stimulate calf muscle activation without stressing repair.
  • Use cryotherapy and elevation to manage swelling and pain
  • Blood flow restriction training (BFRT) can be initiated on ipsilateral or contralateral limb to preserve muscle mass.

Boot Wearing Schedule:

  • CAM boot with 3 heel wedges continuously (day and night)

In-Home Tips for Patients:

  • Keep the limb elevated as much as possible to reduce swelling
  • Avoid active dorsiflexion or stretching beyond neutral
  • Practice gentle toe curls and isometric calf contractions in boot
  • Maintain cardiovascular fitness with upper body exercises
  • Monitor wound for redness, discharge, or increased pain

Exercise Examples for Physiotherapists:

  • Hip abduction/adduction isometrics
  • Quadriceps sets and straight leg raises
  • Seated plantarflexion isometrics with boot on (biofeedback encouraged)
  • Breathing and core stabilization exercises
  • Initiate BFRT with low-load exercises (e.g., straight leg raises)

Milestones / Precautions:

– No active or passive dorsiflexion past neutral
– Monitor for infection, DVT
– Maintain ankle & foot hygiene


Phase 2: Controlled Mobilization Phase (2–6 Weeks)

Goals:

  • Gradual Progress to full weightbearing (FWB) safely
  • Initiate controlled ankle range of motion (ROM) avoiding dorsiflexion beyond neutral
  • Continue pain and swelling management
  • Maintain proximal and global strength

Interventions:

  • Transition from NWB to tolerable FWB in CAM boot with heel wedges; WBAT typically allowed by 3 weeks, FWB by 6 weeks.
  • Ankle active ROM exercises initiated, limiting dorsiflexion to neutral with knee flexed to 90° to avoid tendon elongation.
  • Avoid passive dorsiflexion stretching until after 12 weeks.
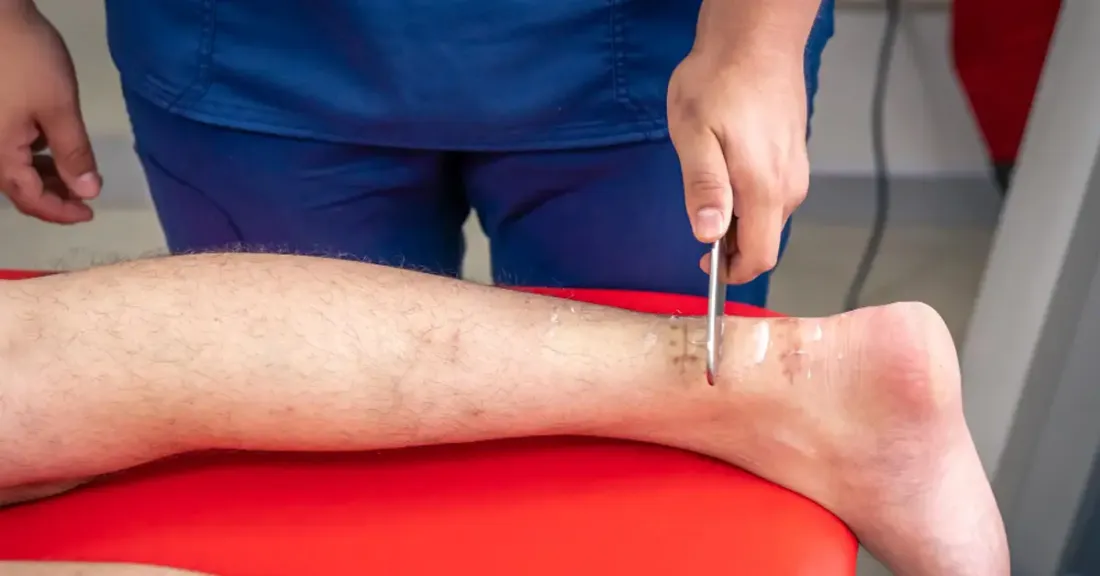
  • Begin gentle soft tissue mobilization around scars once healed
  • Proximal strengthening and cardiovascular exercises continue
  • Maintain heel wedges in boot; reduce 1 wedge per week starting at week 5 (total 3-4 weeks wearing wedges).
  • Continue BFRT focusing on plantarflexors and proximal muscles.

Boot Wearing Schedule:

  • CAM boot with gradually decreasing heel wedges: starting week 4, one wedge off every week (from 3 wedges to none by week 6)

In-Home Tips for Patients:

  • Use crutches as needed to assist with WB progression
  • Perform ankle pumps and gentle active ROM within limits
  • Monitor for signs of elongation (feel tightness but no pain)
  • Continue elevation and icing as needed
  • Encourage compliance with weightbearing restrictions and exercise progression

Exercise Examples for Physiotherapists:

  • Active ankle plantarflexion and dorsiflexion to neutral (knee flexed)
  • Seated ankle isotonic exercises with elastic bands
  • Double-leg heel raises in boot (partial weightbearing)
  • Hip and core strengthening progressions
  • Aquatic therapy or stationary cycling with boot on (~week 4–6)
  • Submaximal isometric plantarflexion
  • Neuromuscular electrical stimulation (NMES) for gastrocnemius activation

Milestones / Precautions:

– Avoid passive calf stretching
– Monitor resting ankle tension as proxy for tendon elongation
– Avoid premature full dorsiflexion


Phase 3: Early Rehabilitation Phase (6–12 Weeks)

Goals:

  • Normalize gait mechanics
  • Restore ankle dorsiflexion gradually without overstressing repair
  • Improve calf muscle strength and endurance
  • Progress proprioceptive training

Interventions:

  • Transition to athletic shoe with heel lift (~1.5–3 cm)
  • Gradual reduction of heel lift height under supervision
  • Initiate double-leg heel raises progressing through full ROM.
  • Begin single-leg heel raises around week 10–12 if tolerated.
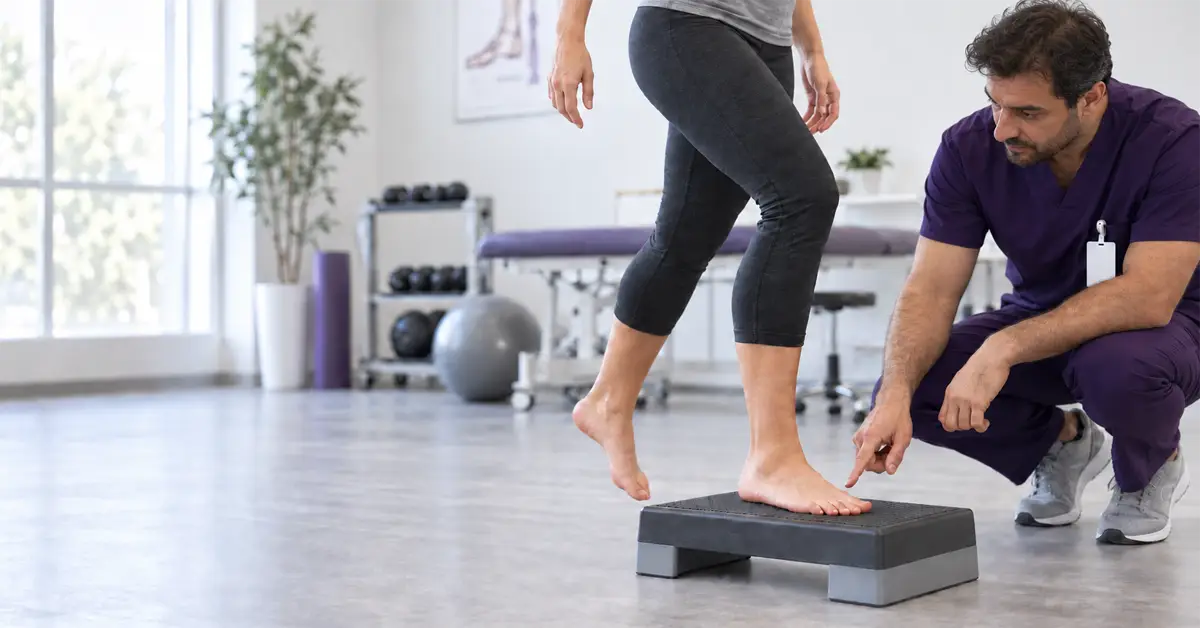
  • Proprioceptive exercises such as balance board, single-leg stance, and perturbation training.
  • Continue aquatic therapy and use of anti-gravity treadmill if available.
  • Avoid aggressive stretching beyond dorsiflexion neutral until after 12 weeks.

Boot Wearing Schedule:

  • Discontinue boot around 8 weeks (as per orthopedic team recommendation), transition to sneaker with heel lift (~1.5–3 cm).
  • Use sneaker with heel lift during gait training until full ROM and strength achieved.

In-Home Tips for Patients:

  • Focus on quality of gait; avoid limping or compensatory patterns
  • Perform balance exercises safely near support
  • Continue controlled calf strengthening avoiding pain
  • Use compression socks and elevate limb to reduce swelling

Exercise Examples for Physiotherapists:

  • Double-leg heel raises, progressing to slow eccentric lowering
  • Single-leg heel raises (supported initially)
  • Balance exercises: single-leg stance on stable and unstable surfaces
  • Seated and standing calf strengthening with increasing load
  • Stationary bike without boot, elliptical
  • Initiate low-impact cardiovascular training (swimming, walking, Elliptical, stair climbing, treadmill walking)

Submaximal Isometric Ankle PF in Shortened Position

Seated Ankle PF Isotonics

Leg Press Ankle PF

Double Leg Calf Raise

SL Supported Calf Raise

SL Calf Raise

SL Deficit Calf Raise

Sample Ankle Plantar Flexion Progression (Marrone et al., 2024)

Milestones / Precautions:

– Heel raise height and repetitions gradually increase
– Monitor for compensatory movement patterns
– Avoid excessive dorsiflexion stretching


Phase 4: Late Rehabilitation Phase (12–24 Weeks)

Goals:

  • Restore full ankle ROM including dorsiflexion
  • Achieve calf muscle strength >70–80% limb symmetry index (LSI)
  • Initiate plyometric and running progression
  • Improve neuromuscular control and endurance

Interventions:

  • Remove heel lift when ankle dorsiflexion reaches near normal
  • Progressive resistance exercises for calf with emphasis on eccentric loading.
  • Plyometric training introduction with low amplitude activities (e.g., pogo jumps, ladder drills).
  • Running progression starting typically at 12–16 weeks post-op based on strength and control.
  • Continue proprioceptive and balance training with dynamic challenges
  • Monitor tendon elongation via clinical signs and resting ankle position.

Boot Wearing Schedule:

  • No boot; normal shoe wear with gradual reduction of heel lift as ROM improves.

In-Home Tips for Patients:

  • Continue gradual loading and plyometric drills as instructed
  • Avoid sudden increases in activity to prevent overloading
  • Focus on movement quality to prevent compensatory patterns
  • Use ice and compression after higher load days if needed

Exercise Examples for Physiotherapists:

  • Single-leg heel raises progressing to multiple repetitions
  • Plyometric drills: Ladder drills, band-assisted pogo jumps, box jumps, drop jumps (progressive), triple extension drills
  • Running progression (typically from 12-16 weeks)
  • Running drills: straight-line jogging, gradual increase in volume
  • Functional strengthening: lunges, step-ups, mini-squats, Bulgarian split squats, hip strengthening
  • Use force plates or biofeedback devices to assess and train symmetry

Milestones / Precautions:

– Achieve controlled gait mechanics
– Strength benchmarks before running: 1.5-2.0x body weight seated plantarflexion
– Use aquatic and anti-gravity treadmill as needed


Phase 5: Return to Sport Phase (24+ Weeks)

Goals:

  • Achieve >90% strength and endurance compared to contralateral side
  • Progress training volume and sport-specific skills
  • Safely return to full sports participation

Interventions:

  • Isokinetic and isometric strength testing to confirm readiness (>90% LSI recommended)
  • Advanced plyometric and agility drills with reactive components
  • Sport-specific training under supervision
  • Monitoring workload and fatigue to prevent reinjury

Boot Wearing Schedule:

  • None

In-Home Tips for Patients:

  • Adhere strictly to progression guidelines
  • Pay attention to pain or swelling after activity
  • Maintain strength and flexibility programs
  • Communicate concerns promptly with therapist or surgeon

Exercise Examples for Physiotherapists:

  • High-level plyometrics: drop jumps, bounding
  • Reactive agility drills and neurocognitive training (drop vertical jumps, RSI monitoring)
  • Progressive running drills including changes in direction and speed
  • Strength and conditioning focusing on power (e.g., loaded calf raises)
  • Isokinetic/isometric strength testing
  • On-field/court sport-specific drills and conditioning
  • Functional testing: single-leg hop, heel-rise endurance tests
  • Neurocognitive and reactive training to prepare for sport demands

 Milestones / Precautions:

– Strength: >90% LSI and 1.5-2.0x BW plantarflexion force
– Heel-rise endurance >90% LSI
– Monitor for calf endurance deficits and tendon elongation
– Progressive chronic load management


Summary Table of Exercises per Category and Timeline

Summary Table of Exercises per Category and Timeline

New Findings and Considerations for Physiotherapists

  • Early Weightbearing & Mobilization: Immediate or early weightbearing (within first 1–2 weeks) with controlled ankle motion is safe, does not increase re-rupture risk, and may accelerate functional recovery
  • Tendon Elongation: Tendon elongation continues for up to 6 months postoperatively regardless of early or late weightbearing protocols and is a key factor influencing long-term function
  • Blood Flow Restriction Training (BFRT): BFRT during early rehab can preserve muscle strength and promote hypertrophy with low loads, beneficial when high-load exercises are contraindicated
  • Use of Biofeedback & Objective Measures: Devices such as force plates and isokinetic dynamometers provide valuable feedback for strength and symmetry and should be incorporated when possible
  • Gradual Reduction of Heel Wedges: Heel wedges in boots and shoes help protect the repair by maintaining slight plantarflexion; a gradual reduction over 4–6 weeks is crucial to avoid elongation
  • Avoid Excessive Dorsiflexion Stretching: Passive dorsiflexion stretching should be avoided until at least 12 weeks to prevent tendon elongation
  • Long-Term Rehabilitation: Full recovery of muscle strength, endurance, and patient-reported function may take 12 months or longer
  • Return to Sport (RTS) as a Continuum: RTS should be considered a progressive continuum with objective testing guiding decisions rather than time alone

Frequently Asked Questions

1. How long will I need crutches after Achilles tendon repair?

Crutches are commonly used during the early stages of recovery to protect the repaired Achilles tendon and help you move safely.

The amount of time you need crutches depends on your surgeon’s postoperative protocol, your healing, pain, strength, and ability to walk safely. As weight bearing is gradually increased, your physiotherapist will help you progress from using two crutches to one and eventually to walking without them.

You should not stop using your crutches simply because you feel better. Your Achilles tendon needs time to heal and adapt to increasing loads.

2. When can I start putting weight on my leg after Achilles tendon surgery?

Weight bearing is typically introduced progressively after surgery, but the timing varies depending on the surgical technique and your surgeon’s protocol.

Your rehabilitation may initially involve limited or protected weight bearing in a cast or boot, followed by a gradual increase in weight bearing as healing progresses.

Your physiotherapist will help you safely increase the amount of weight placed through the leg while monitoring your walking pattern, pain, swelling, and overall response to activity.

3. When can I stop wearing the walking boot after Achilles tendon repair?

The transition out of the walking boot is gradual and should follow your surgeon’s rehabilitation protocol.

Before transitioning to regular footwear, you should generally be able to tolerate increased weight bearing and demonstrate adequate control during walking. A heel lift may also be used temporarily to reduce stress on the healing Achilles tendon.

Your physiotherapist will help you gradually transition from the boot to supportive footwear while working to restore a normal walking pattern.

4. When will I be able to walk normally after Achilles tendon surgery?

Walking normally can take several months after Achilles tendon repair.

Early in recovery, weakness, swelling, reduced ankle movement, and the protective boot can significantly change your walking pattern. Rehabilitation focuses on gradually restoring ankle movement, calf strength, balance, and walking mechanics.

You should progress toward normal walking without a limp before increasing the demands placed on the Achilles tendon.

5. When can I drive after Achilles tendon repair?

You should return to driving only when you can safely control the vehicle and perform an emergency braking manoeuvre without significant pain or hesitation.

Your ability to drive may be affected by your walking boot, ankle movement, reaction time, strength, and which leg was operated on. You should follow your surgeon’s recommendations and check with your insurance provider before returning to driving.

When you are cleared to drive, starting with short trips can help you gradually regain confidence and tolerance.

6. When can I return to work after Achilles tendon surgery?

Your return-to-work timeline depends on your occupation and the physical demands of your job.

A desk-based job may allow an earlier return, particularly if you can elevate the leg and take regular movement breaks. Jobs requiring prolonged standing, walking, climbing, lifting, or other physically demanding activities may require a longer recovery period.

A gradual return to work with temporary modifications may be appropriate. Your physiotherapist can help assess your functional abilities and provide recommendations based on your specific job requirements.

7. When can I start exercising after Achilles tendon repair?

Rehabilitation exercises usually begin early after surgery, but the exercises must be appropriate for the stage of tendon healing.

Early rehabilitation may focus on maintaining movement in the toes, knee, and hip, controlling swelling, and maintaining strength in other areas of the leg. As healing progresses, your program can gradually include ankle exercises, resistance training, balance exercises, calf strengthening, and cardiovascular activities.

Exercise should be progressed gradually to avoid placing excessive stress on the healing tendon.

8. When can I start stretching my Achilles tendon after surgery?

Stretching the Achilles tendon should not be rushed after surgery.

During the early stages, excessive ankle dorsiflexion or forceful calf stretching can place unnecessary stress on the healing tendon. Range of motion is therefore progressed gradually according to your surgeon’s protocol.

As the tendon heals and your strength improves, your physiotherapist will introduce appropriate calf and ankle mobility exercises.

The goal is to restore useful ankle movement while avoiding excessive elongation of the repaired tendon.

9. When can I start running after Achilles tendon repair?

Running should not be started simply because a certain number of months have passed.

Before beginning a running program, you should demonstrate adequate ankle movement, calf strength, single-leg control, and the ability to perform progressive strengthening and impact exercises without significant pain or swelling.

Your physiotherapist can assess your readiness and gradually introduce running through a structured progression. Running is often introduced several months after surgery, depending on your recovery and the specific rehabilitation protocol.

10. When can I return to sports after Achilles tendon surgery?

Returning to sport is a gradual process and requires significantly more than being able to walk comfortably.

Sports involving running, jumping, sprinting, cutting, or explosive movements place substantial demands on the Achilles tendon. Before returning to full sport, you should demonstrate appropriate calf strength, single-leg control, jumping and landing ability, running tolerance, and sport-specific performance.

Return to sport should be based on your functional recovery and readiness rather than a specific date. Some rehabilitation protocols place return to sport around 9–12 months after surgery, but the appropriate timeline varies between individuals.

11. How long does it take to regain strength after Achilles tendon repair?

Calf strength can take considerable time to recover after Achilles tendon surgery.

The calf muscles are often significantly weakened during the period of immobilization and reduced weight bearing. Progressive strengthening is therefore one of the most important parts of rehabilitation.

Your program will gradually progress from basic exercises to double-leg and single-leg calf strengthening, followed by more demanding activities such as jumping and running when appropriate.

It is common for strength and endurance to continue improving well into the later stages of rehabilitation.

12. How long does Achilles tendon repair rehabilitation take?

Achilles tendon rehabilitation is a long-term process. While basic walking and daily activities may improve considerably during the first several months, full recovery of strength, endurance, and high-level function can take considerably longer.

The timeline varies depending on factors such as the severity of the rupture, surgical technique, your age and activity level, pre-surgery fitness, and your response to rehabilitation.

Returning to running and sports typically occurs much later than returning to normal daily activities. Rehabilitation should progress according to your healing, strength, movement, and functional performance rather than time alone.

13. Why does my calf still feel weak after Achilles tendon surgery?

Calf weakness is very common following Achilles tendon repair.

The period of immobilization and reduced weight bearing can lead to significant loss of calf muscle strength and endurance. In addition, the repaired tendon needs time to adapt to progressively greater loads.

A structured strengthening program is essential for rebuilding calf strength. Recovery can be gradual, and some patients may continue to notice differences between the operated and non-operated legs during the later stages of rehabilitation.

14. What happens if I do too much too soon after Achilles tendon repair?

The repaired Achilles tendon needs time to heal and gradually adapt to increasing loads. Doing too much too soon can cause increased pain, swelling, or irritation and may place excessive stress on the healing tendon.

Activities such as forceful stretching, running, jumping, or explosive movements should not be introduced before the tendon and surrounding muscles are adequately prepared.

A temporary increase in symptoms does not necessarily mean that the repair has been damaged, but it may indicate that your activity level needs to be adjusted.

A structured rehabilitation program allows you to progressively increase the demands placed on the Achilles tendon while minimizing unnecessary risk.


Reference:

  1. Lee, K. W., Bae, J.-Y., Ho, B. C., Kim, J. H., & Seo, D.-K. (2022). Immediate weightbearing and ankle motion exercise after acute Achilles tendon repair. The Journal of Foot & Ankle Surgery, 61(5), 604–608. https://doi.org/10.1053/j.jfas.2021.10.021
  2. Saxena, A., Giai Via, A., Silbernagel, K. G., Walther, M., Anderson, R., Gerdesmeyer, L., & Maffulli, N. (2022). Current consensus for rehabilitation protocols of the surgically repaired acute mid-substance Achilles rupture: A systematic review and recommendations from the “GAIT” study group. The Journal of Foot & Ankle Surgery, 61(6), 855–861.
  3. Massen, F. K., Shoap, S., V., J. T., Fan, W., Usseglio, J., Baumbach, S. F., & Polzer, H. (2022). Rehabilitation following operative treatment of acute Achilles tendon ruptures: A systematic review and meta-analysis. EFORT Open Reviews, 7(10), 680–691. https://doi.org/10.1530/EOR-22-0072
  4. Kiedrowski, B., Bąkowski, P., Stołowski, Ł., Kaszyński, J., & Kerkhoff, G. (2021). Rehabilitation protocol after Achilles tendon reconstruction with an autologous hamstring graft. Issues of Rehabilitation, Orthopaedics, Neurophysiology and Sport Promotion, 37, 43–50. 
  5. Gould, H. P., Bano, J. M., Akman, J. L., & Fillar, A. L. (2021). Postoperative rehabilitation following Achilles tendon repair: A systematic review. Sports Health, 29(3), 130–145. 
  6. Marrone, W., Andrews, R., Reynolds, A., Vignona, P., Patel, S., & O’Malley, M. (2024). Rehabilitation and return to sports after Achilles tendon repair. International Journal of Sports Physical Therapy, 19(9), 1152–1171. https://doi.org/10.26603/001c.122643
  7. Eliasson, P., Agergaard, A. S., Couppé, C., Svensson, R., Hoe, H., Warming, S., … & Magnusson, S. P. (2018). The ruptured Achilles tendon elongates for six months after surgical repair regardless of early or late weightbearing in combination with ankle mobilization: A randomized clinical trial. The American Journal of Sports Medicine, 46(10), 2492–2502.